 How-to
7 Weekend Car Maintenance Checklist Items You Can Do
Last Updated: October 28, 2026
Quick Summary
A weekend car maintenance checklist covers a 60-minute workflow: a 15-minute fluid check under the hood, 15 minutes on tire pressure and tread depth, and a 20-minute block for battery, brakes, lights, and filters every two weeks. Finish with 10 minutes to log results and schedule follow-up.
- A healthy battery reads about 12.6 volts at rest with the engine off.
- Replace brake pads when they reach about 3 millimeters from roughly 10 to 12 millimeters new.
- Check the spare tire once a month and confirm the jack and lug wrench are in the trunk.
- Stop DIY for warning lights, grinding brakes, untraceable leaks, or steering that pulls.
- Most manufacturers specify a brake fluid flush every two to three years.
Table of Contents
- Why a Weekend Car Maintenance Checklist Saves You Money
- The 60-Minute Weekly Car Maintenance Checklist Workflow
- Step 1: Car Fluid Check Under the Hood
- Step 2: Tire Pressure Check and Tread Depth Inspection
- Step 3: Battery, Brakes, Lights, and Filters
- Step 4: Fit the Checks Into Your Car Maintenance Schedule
- What to Leave to a Mechanic and When to Stop DIY
- Book Your Weekend Inspection at Q3 Car & Truck Repair
- Frequently Asked Questions
Why a Weekend Car Maintenance Checklist Saves You Money
A weekend car maintenance checklist is a short, repeatable set of inspections you run on your vehicle once a week or every other weekend.
The 60-Minute Weekly Car Maintenance Checklist Workflow
| Step | Task | Time | How Often |
|---|---|---|---|
| 1 | Fluid check under the hood | 15 min | Weekly |
| 2 | Tire pressure and tread depth | 15 min | Weekly |
| 3 | Battery, brakes, lights, filters | 20 min | Every 2 weeks |
| 4 | Log results and schedule follow-up | 10 min | Weekly |
Before You Start: Tools and Safety Precautions
If you want a full rundown of what to keep on hand, our guide to essential tools for basic DIY car maintenance lists the starter kit we recommend to every customer.
Step 1: Car Fluid Check Under the Hood
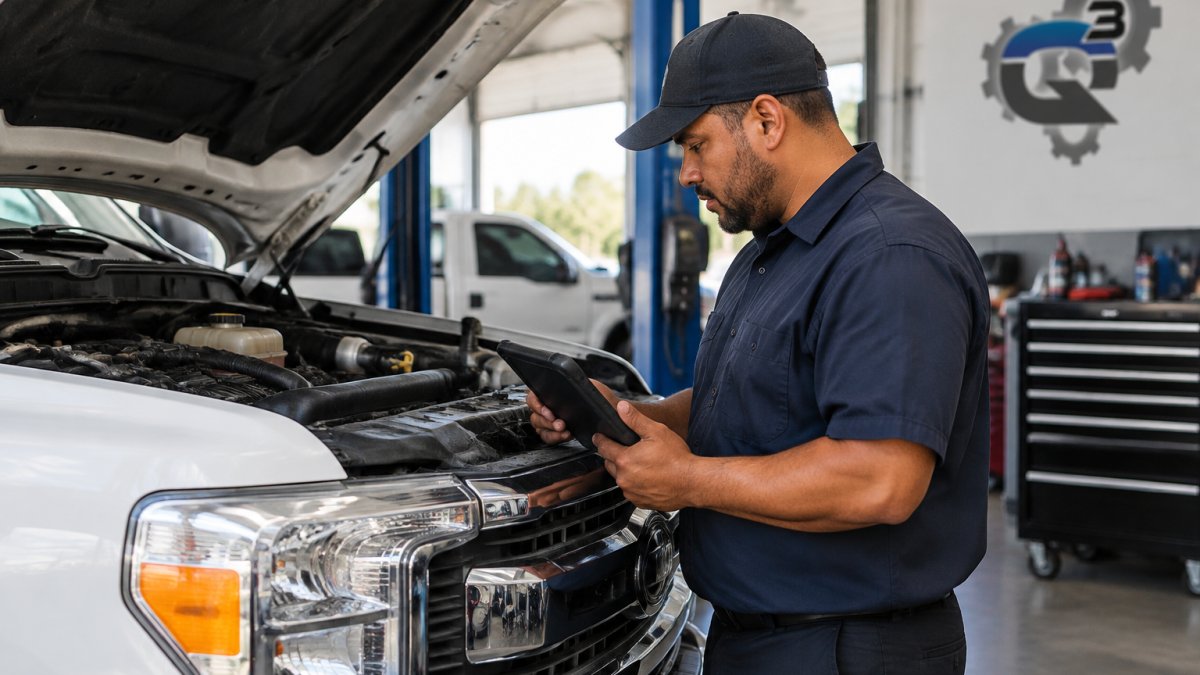
Low fluid is not always the real problem. Fluid that keeps dropping points to a leak, and that is the thing to catch early. A common pattern is a slow seep at a hose clamp or reservoir seam that only shows up as a recurring top-off every few weeks.
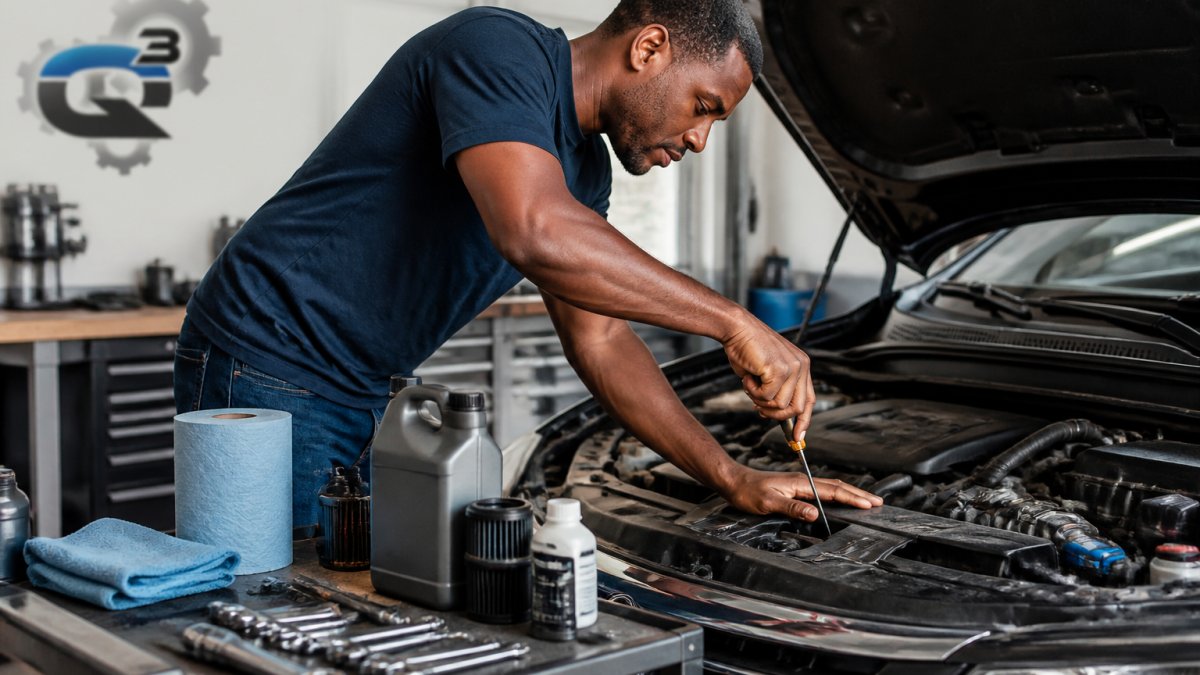
Engine Oil Level and Condition
Watch out: if the oil looks milky or frothy, stop driving and call a shop. That can signal coolant mixing with oil, which is a serious engine problem.
Coolant Level and Condition
Look at the coolant color. Fresh coolant is bright and clear. Rusty, oily, or cloudy coolant points to contamination or a failing component, and that is a shop visit, not a top-off.
Brake Fluid Level and Color
Brake fluid should sit near the full line on the reservoir and look clear, not dark. Dark fluid has absorbed moisture, which lowers its boiling point and can cause a soft pedal under hard braking. Most manufacturers specify a brake fluid flush on a time interval, often every two to three years, so check your owner's manual. A brake fluid level that keeps dropping usually means a leak or worn pads, and both need a professional look.
Transmission and Power Steering Fluid
Power steering fluid lives in a small reservoir near the pump. Check it cold against the marks. A whining noise when you turn the wheel plus a low level points to a leak in the system.
Washer Fluid and Air Filter Housings
Also glance at the engine air filter and cabin air filter housings. A clogged engine air filter hurts fuel economy, and a dirty cabin air filter fogs your windows faster. Hold the engine filter up to light: if you cannot see light through it, replace it.
Step 2: Tire Pressure Check and Tread Depth Inspection
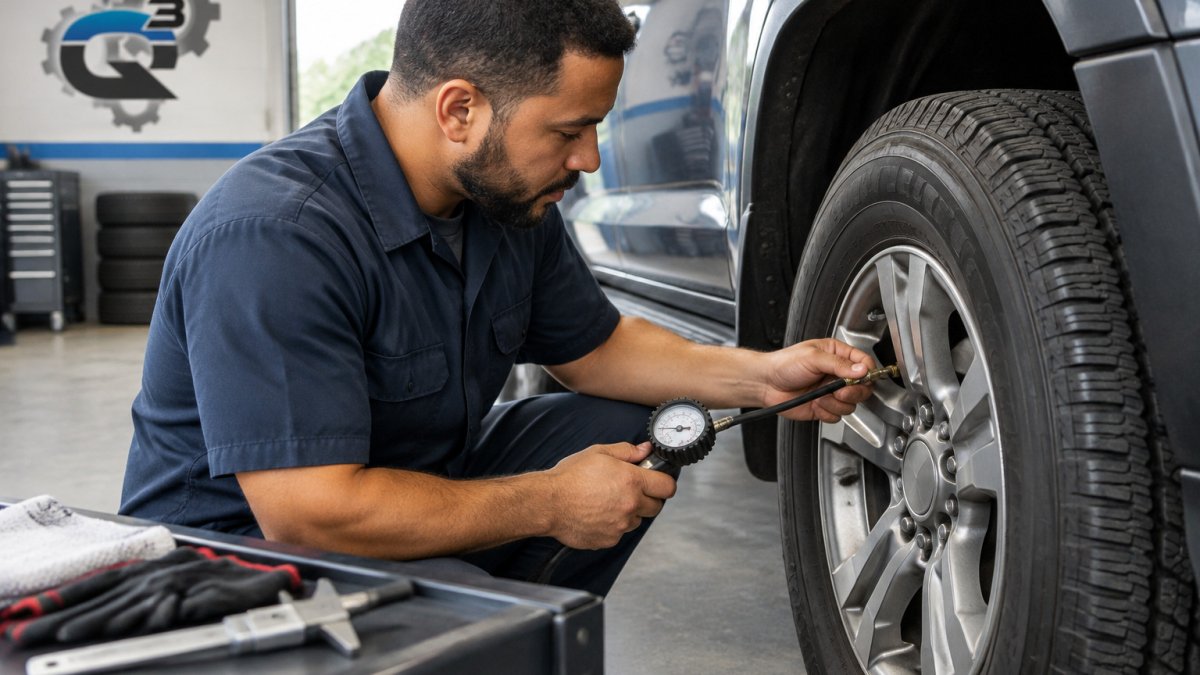
Low tire pressure causes uneven wear, longer stopping distances, and worse fuel economy. Our article on the impact of driving with low tire pressure explains what happens inside the tire when it runs soft.
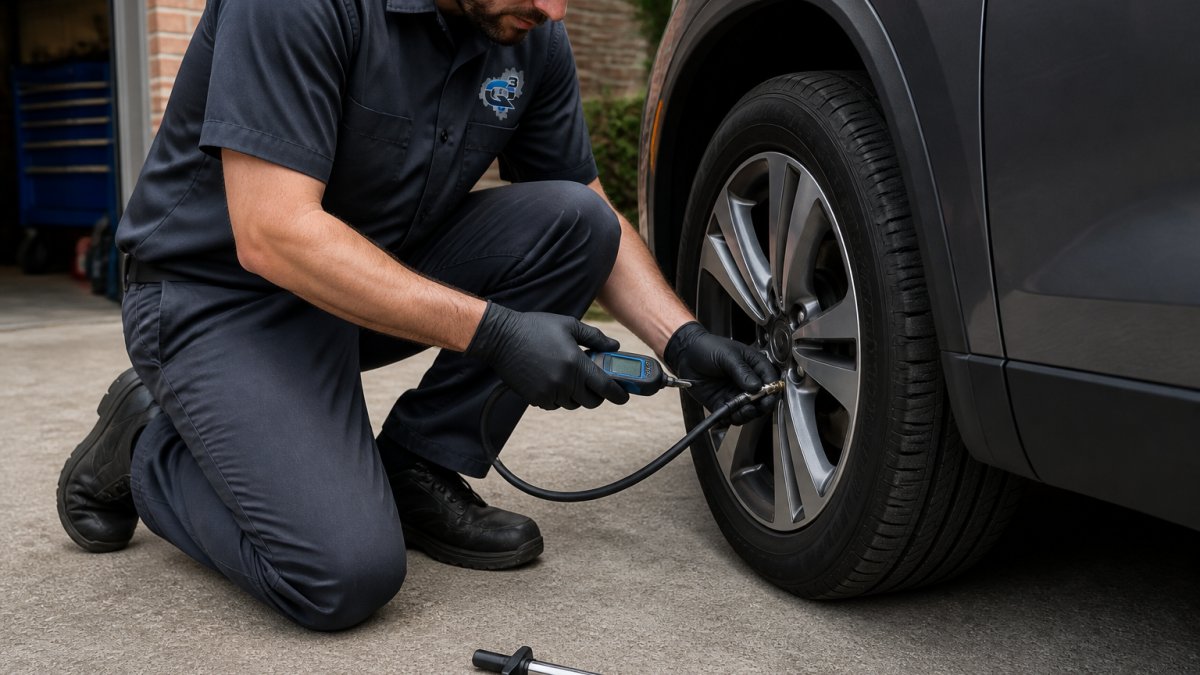
Reading Tire Wear and Checking the Spare
Do not forget the spare. A spare tire at low pressure is useless when you need it most. Check it once a month and confirm the jack and lug wrench are still in the trunk.
Step 3: Battery, Brakes, Lights, and Filters
This block takes about 20 minutes and covers the items that most often strand a driver. Work in this order: battery first, then brakes, then lights, then filters.
Battery Charge, Connections, and Corrosion
A healthy battery reads about 12.6 volts at rest with the engine off. Many auto parts stores will load-test a battery at no charge, which is the fastest way to know if it is near the end of its life. A battery that is more than three to five years old and cranks slowly on cold mornings is a candidate for replacement before it fails.
Brakes and Brake Fluid
Brakes need two checks: pad thickness through the wheel spokes, and brake fluid level. New pads are typically around 10 to 12 millimeters thick. Replace them when they reach about 3 millimeters. If you hear grinding or the pedal feels soft, stop driving and get it looked at. Grinding usually means metal-on-metal contact, which scores the rotor and turns a pad job into a rotor job.
Lights and Indicators
Lights are quick. Turn on headlights, high beams, turn signals, and brake lights, and walk around the car. Replace any dead bulb the same day. A burned-out brake light is a safety issue and an easy ticket. Have a helper press the brake pedal while you watch the rear lights, since brake lights are the ones you cannot see from the driver's seat.
Belts, Hoses, and Filters
With a flashlight, look at the serpentine belt for cracks, glazing, or fraying. Squeeze the upper radiator hose: it should feel firm, not spongy. A spongy hose can burst under pressure. Check the engine air filter and cabin air filter as covered in the fluid section, and replace them if they are visibly dirty or clogged.
When to Stop and Book a Shop Visit
Stop DIY the moment a check turns up something you cannot explain. Warning lights, grinding brakes, fluid leaks you cannot trace, and steering that pulls all belong with a trained technician. Write down what you saw, when you saw it, and the mileage, so the shop starts with facts instead of guesses.
Step 4: Fit the Checks Into Your Car Maintenance Schedule
If you want to see how these weekend checks connect to longer intervals, our guide to the benefits of following a vehicle maintenance schedule walks through the full picture.
What to Leave to a Mechanic and When to Stop DIY
Stop DIY the moment a check turns up something you cannot explain. Warning lights, grinding brakes, fluid leaks you cannot trace, and steering that pulls all belong with a trained technician.
Book Your Weekend Inspection at Q3 Car & Truck Repair
Some drivers want a second set of eyes, and that is a fair call. At Q3 Car & Truck Repair, our technicians explain why a repair matters before any work starts. You get straightforward estimates and clear answers, not pressure.
We work on cars and trucks. If you run a small fleet, we can keep your maintenance consistent across every vehicle.
Get started with Q3 Car & Truck Repair and turn your weekend checklist into a car you can trust all week.
Frequently Asked Questions
What should I check on my car every weekend?
A solid weekend car maintenance routine covers seven areas: engine oil level and condition, coolant and brake fluid, tire pressure and tread depth, battery terminals for corrosion, brake pedal feel, all exterior lights, and wiper blades. The full pass takes about 60 minutes with a pressure gauge, a rag, and a flashlight. Checking tire pressure cold, before driving, gives the most accurate reading. Anything that fails a threshold, like tread under 2/32 of an inch, moves to your repair list that same weekend.
How often should I do a car fluid check and tire pressure check?
Check tire pressure and engine oil at least once a month, and weekly if you commute daily or drive an older vehicle. Coolant and brake fluid levels can be checked monthly alongside oil. Washer fluid is a quick top-off whenever it runs low. Your owner's manual sets the official car maintenance schedule, and most list oil changes every 5,000 to 7,500 miles for modern vehicles. A weekend habit catches slow leaks and uneven tire wear before they turn into costly repairs.
How long does a basic weekend car inspection take?
Plan on 45 to 60 minutes for a thorough weekend car maintenance checklist. Fluid checks take about 15 minutes, tire pressure and tread inspection another 15, and battery, lights, and wiper checks roughly 15 more. First-timers should budget 90 minutes while learning where everything sits under the hood. Doing it in the same order each week builds speed, and keeping a simple log of readings and dates makes patterns like slow fluid loss or dropping tire pressure easy to spot.
Which car maintenance tasks should I leave to a mechanic?
Leave brake pad replacement, brake fluid flushes, transmission fluid service, alignment, suspension work, and any check engine light diagnosis to a qualified shop. These jobs need lifts, specialty tools, and torque specifications that are easy to get wrong at home. Stop DIY work immediately if you find metal-on-metal brake noise, a spongy pedal, coolant mixing with oil, or a battery that keeps dying. A professional inspection confirms what is actually needed so you avoid paying for repairs your vehicle does not require.
Your weekend checklist catches the small stuff. When it turns up something bigger, hand it to a shop that explains the why before the how. Q3 Car & Truck Repair offers transparent estimates, skilled technicians, and weekend appointments that fit a working schedule. Get started with Q3 Car & Truck Repair and book your inspection this weekend.