 How-to
How to Check Tire Pressure, Tread, and Load for a Road Trip
Last Updated: November 17, 2026
Quick Summary
Good tire maintenance for a road trip means checking pressure on cold tires, inspecting tread depth, and looking over sidewalls before you leave. Check everything a few days ahead so you have time to fix problems. Plan about 25 minutes for the full check.
- Measure pressure only on cold tires, using the vehicle placard rather than the sidewall maximum.
- Replace a tire when tread reaches 2/32 of an inch, the legal minimum and the wear-bar level.
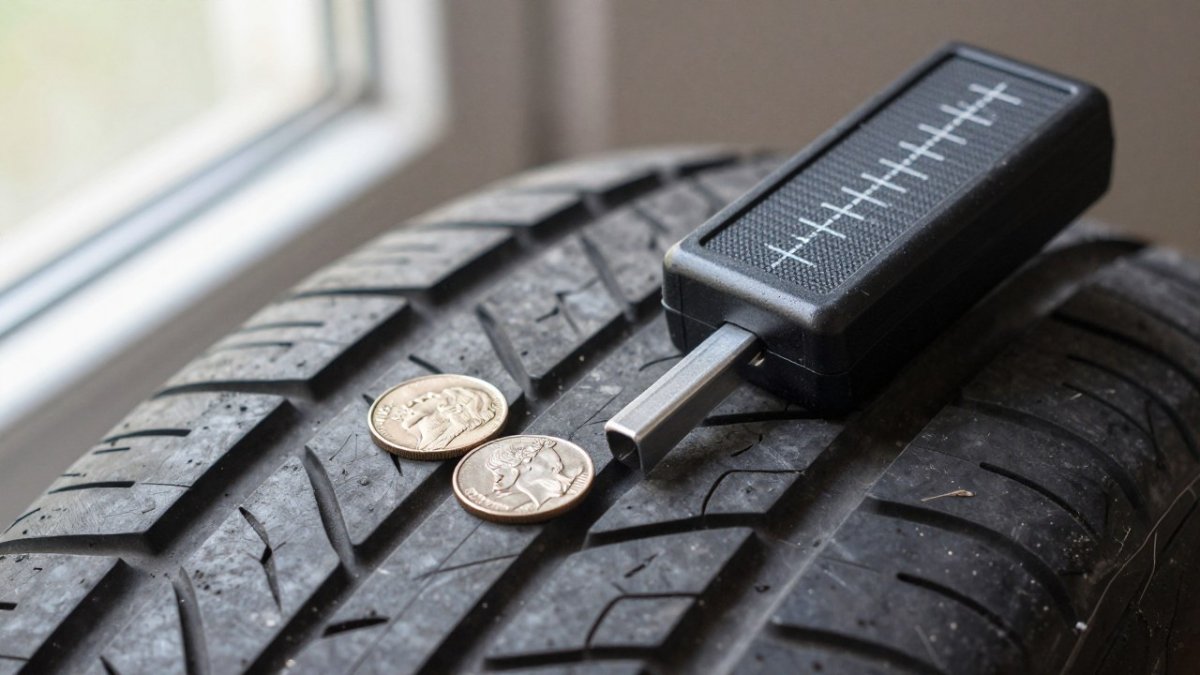
- A penny test with Lincoln's head visible means you are at or near 2/32 of an inch.
- Inspect sidewalls for cracks, bulges, cuts, and embedded objects before departure.
- Check the spare's pressure and confirm the jack and lug wrench are in working order.
Table of Contents
- How to Check Tire Pressure Correctly
- How to Check Tire Tread Depth and Uneven Wear
- Inspecting Sidewalls for Cracks, Bulges, and Cuts
- Spare Tire Maintenance Before You Leave
- Road Trip Tire Checklist With Timing
- What to Do If You Find a Tire Problem on the Road
- Booking Your Pre-Trip Tire and Wheel Check at Q3 Car & Truck Repair
- Frequently Asked Questions
Tire maintenance is one of the checks that most often decides whether a road trip goes smoothly.
Tires are the only part of your vehicle touching the road, and they carry the whole load.
Watch out: Do not wait until the morning you leave. Check your tires at least a few days before departure so there is time to fix anything you find.
How to Check Tire Pressure Correctly
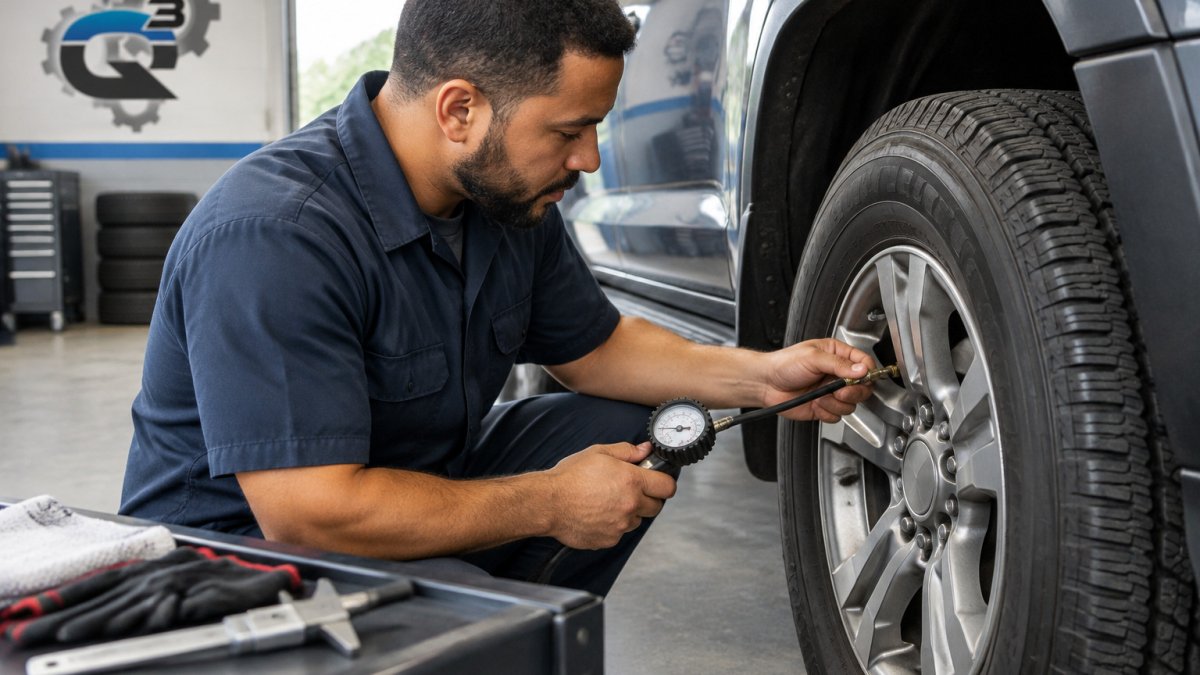
Checking tire pressure is the fastest way to find a problem. Use a quality gauge, check all four tires plus the spare, and always measure when the tires are cold. Driving heats tires and raises pressure, so a reading taken after a long drive will not be accurate.
Using the Vehicle Manufacturer's Recommended Pressure
The correct pressure is printed on a sticker, usually inside the driver's door frame, in the fuel door, or in the owner's manual. Do not use the maximum pressure printed on the tire sidewall. That number is the most the tire can hold, not the best number for your vehicle.
- Find the placard on the driver's door jamb or in the owner's manual
- Note the front and rear pressures, since they can differ
- Use the same number for each tire on the same axle
Measuring Cold Tires With a Gauge
Measure tires before driving or after the car has sat for at least three hours. Remove the valve cap, press the gauge firmly onto the valve stem, and read the number. Add air if the pressure is low, and release a small amount if it is high. Recheck after each adjustment.
Many drivers find that pressure drops in cold weather. A tire can lose about 1 PSI for every 10-degree drop in temperature, so check more often when the weather turns cold.
How to Check Tire Tread Depth and Uneven Wear
Tread is what puts rubber between your vehicle and the road, and it is the single best predictor of wet-weather stopping distance. A tire worn to the wear bars still holds air and still rolls, which is exactly why tread problems get missed until a rainstorm or a panic stop exposes them.
The Three Tread Checks That Matter
1. The wear-bar test. Every tire sold in the United States has raised tread-wear indicator bars molded into the bottom of the grooves at 2/32 of an inch.
2. The penny test. Insert a penny into a groove with Lincoln's head pointing down.
3. The depth gauge. A tread depth gauge costs a few dollars at any parts store and gives a number in 32nds of an inch.
Reading Uneven Wear Like a Diagnosis
Wear patterns are symptoms, not just cosmetic problems. Before a long trip, compare the inner edge, center, and outer edge of each tire:
- Wear on both edges, center still deep: classic underinflation. The tire flexes and rides on its shoulders. Check for a slow leak and confirm you are using the vehicle placard pressure, not the sidewall maximum.
- Wear down the center only: overinflation, or a tire that has been run at high pressure for a long time. It reduces the contact patch and makes the ride harsher.
- Wear on one edge only: camber or toe is off, usually from alignment. This is the pattern most likely to appear after a curb strike or a pothole and it will keep eating the same edge until the alignment is corrected.
When Tread Means Replace, Not Rotate
A rotation moves a worn tire to a different corner, but it does not add rubber. Read about the signs that indicate a tire rotation is needed to catch uneven wear early.
Watch out: Do not judge tread by looking at the outer edge alone. Inner-edge wear is common on vehicles with negative camber and is easy to miss unless you crouch down or turn the wheels.
Rotation, Balancing, and Alignment Before a Long Drive
Tread wear is also a scheduling question. Most vehicle manufacturers specify a rotation interval in the owner's manual, commonly every 5,000 to 8,000 miles, and a long trip is a natural time to catch up.
Inspecting Sidewalls for Cracks, Bulges, and Cuts
Walk around each tire and look at the sidewalls. For a deeper guide to spotting road damage that could strand you, see the full article. Look for:
- Cracks or dry rot in the rubber
- Bulges, which can mean internal damage
- Cuts or punctures that go deep into the tire
A bulge is a serious warning sign. It usually means the internal structure has failed, and the tire should be replaced rather than repaired.
Spare Tire Maintenance Before You Leave
Many drivers forget the spare until they need it. Check the spare's pressure with the same gauge you used on the other tires, and confirm it is not cracked or worn. Learn what driving on underinflated tires does to your vehicle before you leave. Make sure the jack, lug wrench, and any tire-changing tools are in the vehicle and in working order.
Road Trip Tire Checklist With Timing
Use this checklist a few days before you leave:
- Check pressure on all four tires and the spare (about 5 minutes)
- Check tread depth with a penny on each tire (about 5 minutes)
- Look for cracks, bulges, and cuts on each sidewall (about 5 minutes)
The full check takes about 25 minutes. A rotation or alignment check, if needed, usually takes longer, so schedule it earlier in your planning.
Use this timed checklist a few days before you leave to cover each check with an estimated time.
| Step | What to do | Time |
|---|---|---|
| Check pressure | Check all four tires and the spare | About 5 minutes |
| Check tread depth | Penny test on each tire | About 5 minutes |
| Inspect sidewalls | Look for cracks, bulges, and cuts | About 5 minutes |
| Check the spare | Confirm it is inflated and tools are present | About 5 minutes |
| Check wear patterns | Look for uneven wear | About 3 minutes |
| Recheck pressure | Check again the morning you leave | About 2 minutes |
Time
What to Do If You Find a Tire Problem on the Road
Most tire advice stops at the inspection. The harder question is what to do when something goes wrong hundreds of miles from home, and that is where a little preparation and a clear decision rule matter more than any gadget in the trunk.
If a Tire Fails While You Are Moving
A blowout or sudden pressure loss is a steering event before it is a tire event. Grip the wheel firmly with both hands, keep the vehicle pointed straight, and ease off the accelerator.
Get everyone out of the vehicle and onto the side away from traffic, behind a barrier if there is one. On a busy highway or in a tunnel, the safest move is often to stay buckled in with hazards on and call for help rather than change a tire in live traffic.
Repair or Replace? A Simple Decision Rule
Not every puncture is fixable, and the difference matters when you are deciding whether to plug a tire at a rest stop or call a tow.
- Repairable in most cases: a single puncture in the tread area, roughly a quarter-inch or smaller, with no sidewall damage and no persistent pressure loss after inflation. A proper internal patch-plug installed from inside the tire is the durable repair; a quick external plug is a temporary fix to get you to a shop.
- Not safely repairable: any puncture or cut in the sidewall or shoulder, a bulge or bubble anywhere on the tire, a puncture larger than about a quarter-inch, two punctures close together, or damage from running flat that has chewed the inner liner. A tire with a bulge has failed internally and should not be driven on, even to the next exit.
- Replace, do not repair, when: tread is at or below 2/32 of an inch, the tire has been driven flat for any distance, or the damage is in a location a patch cannot reach.
Watch out: A can of sealant inflator is a get-you-moving tool, not a repair. It can coat the inside of the tire and the pressure sensor, and many shops will not repair a tire that has been sealed.
Using the Spare Without Creating a Second Problem
A temporary spare, often called a donut, is designed for limited use. Common limits published by vehicle manufacturers are around 50 mph and roughly 50 miles, and those numbers are a ceiling, not a target. Check the spare's pressure before you need it, because a compact spare loses air like any other tire and is often neglected for years.
When to Call Roadside Assistance Instead of DIY
Call for help rather than changing the tire yourself when you are on a narrow shoulder, in heavy traffic, in bad weather or darkness, when the vehicle is loaded with passengers, or when the damage is to more than one tire. Roadside assistance is also the right call if the spare is flat, the lug nuts will not break loose with the tools you have, or you are not physically able to lift the wheel.
What to Keep in the Vehicle
A usable roadside kit for tire trouble is short: a quality pressure gauge, a lug wrench that fits your lug nuts, a jack you have actually tested, a reflective triangle or flares, a flashlight, work gloves, and a rain layer. Add a portable inflator if you have room. None of it helps if you have never used it, so test the jack and loosen and retighten one lug nut in your driveway before the trip.
National Highway Traffic Safety Administration tire safety information
Booking Your Pre-Trip Tire and Wheel Check at Q3 Car & Truck Repair
If you would rather have a professional check everything before you leave, Q3 Car & Truck Repair welcomes your appointment request through our website. If you would like a professional to check your tires before a trip, contact Q3 Car & Truck Repair through our website to request an appointment.
Ready for your next trip? Request an appointment with Q3 Car & Truck Repair and get your tires checked before you leave.
Frequently Asked Questions
How should I check my tires before a road trip?
Start with a cold-tire pressure check using a gauge, comparing each reading to the placard on the driver's door jamb or the owner's manual. Then inspect tread depth with a penny or quarter, look at both sidewalls for cracks, bulges, or cuts, and confirm the spare is inflated. Check tire rotation schedules and wheel condition as well. If you find uneven wear, a damaged sidewall, or a tread reading near 2/32 inch, have the tire evaluated by a shop before you leave.
What tire pressure should I use for a long drive?
Use the pressure listed on the vehicle placard or in the owner's manual, not the maximum pressure printed on the tire sidewall. Measure when tires are cold, meaning the car has been parked for several hours or driven only a short distance. Carrying a heavy load can change the target pressure, so check the manufacturer's guidance for loaded conditions. Keep all tires on the same axle at matching pressures.
How much tire tread is safe for a road trip?
Many drivers use 2/32 inch as the wear-bar reference point, and tires at or near that depth have reduced wet-road traction. For a long trip, especially in rain or hot weather, replacing tires before they reach that point is a safer choice. Measure tread in several places across the tire, since uneven wear can hide a worn section. Tread-depth readings are one part of a complete tire inspection.
What should I keep in my car for a flat tire?
Carry a usable spare tire, a jack and lug wrench that fit your vehicle, a tire pressure gauge, and a portable inflator or sealant kit. Keep jumper cables, a flashlight, and reflective triangles in the trunk as well. Check the spare's pressure during your pre-trip inspection, because a flat spare is useless in a roadside emergency. Review the vehicle manual for jacking points before you need them.