 ultimate-guide
Transparent Car Repair Process Explained: 2026 Guide
Table of Contents
- What a Transparent Car Repair Process Looks Like
- Step 1: Initial Damage Assessment and Your Written Estimate
- Step 2: Disassembly and the Search for Hidden Damage
- Step 3: Insurance Coordination and the Supplemental Estimate
- Step 4: OEM vs. Aftermarket Parts and Sourcing
- Step 5: Body Panel Repair, Paint Matching, and Reassembly
- Step 6: Diagnostic Scans, Calibration, and Post-Repair Validation
- Questions to Ask Your Mechanic Before Repairs Begin
- Frequently Asked Questions
Last Updated: September 7, 2026
A transparent car repair process is one where the shop explains what is wrong, why it matters, and what it will cost before any work begins. For most drivers, the fear of being overcharged or sold unnecessary repairs stems from a lack of visibility into how auto body shops actually operate. At Q3 Car & Truck Repair, we believe the antidote to that anxiety is a clear process that keeps you informed.
What a Transparent Car Repair Process Looks Like
A transparent car repair process is a documented workflow that gives the customer visibility into damage assessment, parts sourcing, and repair validation at every stage. It replaces the traditional "drop it off and hope for the best" model with structured communication and written approvals.
The core promise is simple: you approve the repair plan, you understand the costs, and you receive a vehicle that has been verified safe to drive. This approach protects you from surprises and holds the shop accountable for the quality of its workmanship.
Step 1: Initial Damage Assessment and Your Written Estimate
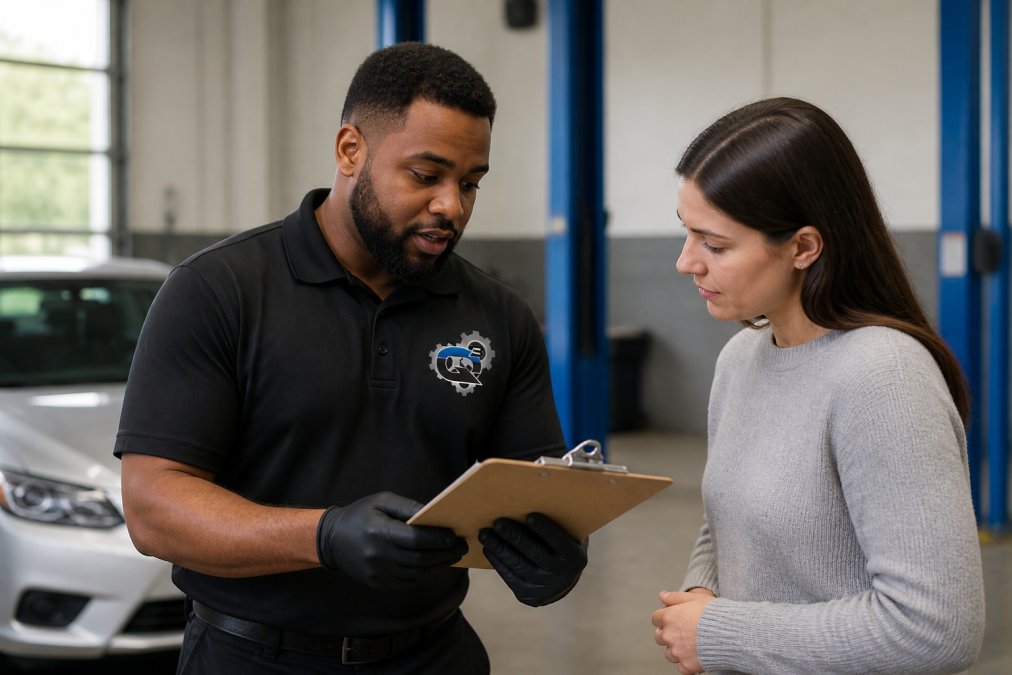
The process begins with a thorough visual inspection of the damage, often before any disassembly occurs. A qualified technician documents all visible damage to body panels, assesses the structural integrity, and checks for issues with safety systems like sensors and cameras.
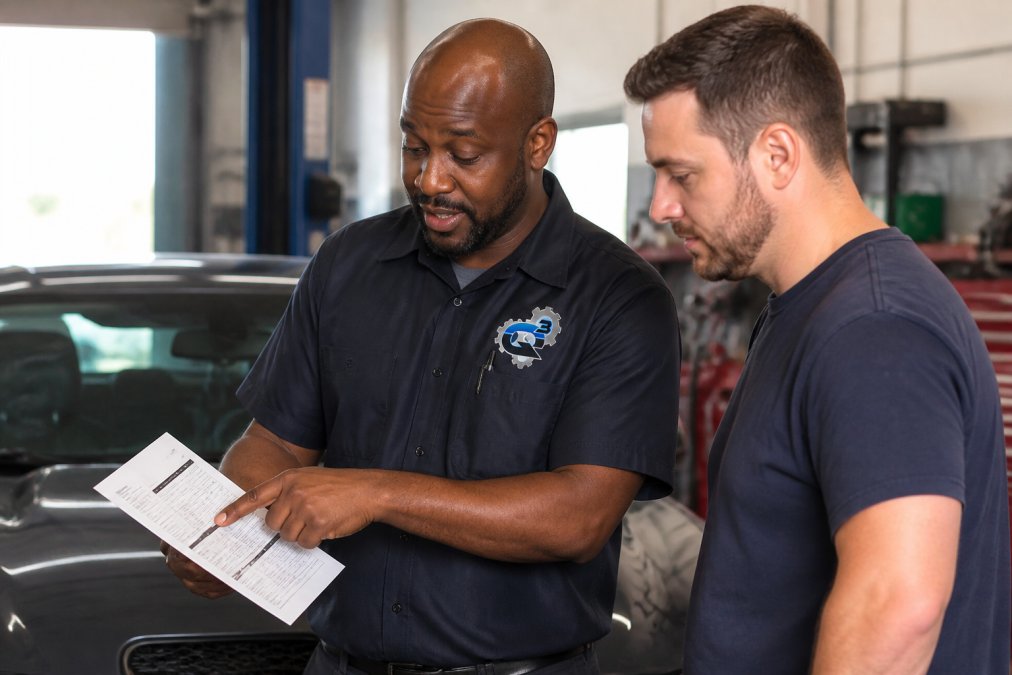
You should leave this step knowing the estimated labor rates, the parts required, and the expected cycle time. A reputable shop will also explain that this number is preliminary because some damage remains hidden until parts are removed.
Step 2: Disassembly and the Search for Hidden Damage
Once you approve the initial estimate, the shop begins disassembly to uncover issues that a visual inspection cannot detect. Bumpers, fenders, and trim panels come off so technicians can evaluate the underlying structure and mounting points. This is where the real condition of your vehicle becomes clear.
Hidden damage is common in collision repair, and finding it early prevents unsafe repairs and future problems. A transparent shop will photograph the disassembled areas and share those images with you, explaining what they found and why it matters for your safety.
Step 3: Insurance Coordination and the Supplemental Estimate
If your insurance is covering the repair, the shop will coordinate directly with the adjuster. The process hinges on a document called a supplemental estimate, and understanding how it works is your best defense against surprise costs and delays.
The Initial Estimate vs. The Supplement
The initial estimate is based on what is visible on the surface. Once your car is disassembled, technicians often find hidden damage, a bent radiator support, a cracked sensor bracket, or a torn inner wheel well liner. To get paid for this additional work, the shop must submit a supplemental estimate to your insurance company. This is a standard industry practice, not a sign of a bad shop.
Why Supplements Get Delayed or Reduced
A common point of friction is when an insurer initially declines or reduces a line item on the supplement. This can happen for several reasons:
- Parts Pricing: The insurer's software may list a lower-cost aftermarket part, while the shop recommends an OEM part for structural or safety reasons. This creates a price discrepancy that must be negotiated.
- Labor Rate: If the shop's labor rate is higher than what the insurer's database allows, the insurer may only approve a portion of the labor cost, leaving you potentially responsible for the difference.
- Procedure Approval: Some repairs, like a full panel replacement versus a repair, require photo documentation and a formal request to the insurer. If the adjuster is slow to respond, the repair timeline extends.
How a Transparent Shop Handles This
A transparent shop does not just submit the supplement and hope for the best. They actively manage the negotiation on your behalf. Here is what you should expect them to do:
- Document Everything: They take photos of the hidden damage and provide a written explanation of why the additional work is necessary for a safe and proper repair.
- Communicate the 'Why': They explain to you why the insurer pushed back. For example, they might say, "The adjuster approved an aftermarket bumper cover, but we recommend the OEM part because the aftermarket one has a history of poor fitment, which could lead to premature rust or sensor misalignment. We are appealing that decision."
- Clarify Your Financial Responsibility: They will explicitly state whether you owe any difference between the insurer's approved amount and the final repair cost. This is often dictated by your policy's language regarding 'betterment' or your choice of parts. If you have an OEM endorsement on your policy, the insurer is typically obligated to pay for OEM parts (naic.org).
The 'Betterment' Clause
Be aware of the concept of betterment. If your car has 50,000 miles on it and the repair requires a new tire or a battery, the insurer may argue that you are receiving a brand-new part that improves the vehicle beyond its pre-accident condition (insurance.ca.gov). They may deduct a percentage of the cost for this 'betterment,' and you could be responsible for that remainder. A transparent shop will flag this line item on your estimate and explain it before you authorize the work.
Step 4: OEM vs. Aftermarket Parts and Sourcing
The parts used in your repair directly affect the cost, the fit, and the long-term durability of the work. Original equipment manufacturer (OEM) parts are made by your vehicle's brand and match factory specifications exactly, while aftermarket parts are produced by third-party companies and often cost less. Your insurance policy and the shop's recommendations will determine which parts are used.
A transparent shop lists every part on the estimate, clearly marking whether it is OEM or aftermarket. They will also explain the warranty coverage for each type, since some aftermarket parts carry limited warranties that do not match your vehicle's original coverage.
Step 5: Body Panel Repair, Paint Matching, and Reassembly
With the parts in hand, technicians begin the actual collision repair, which includes straightening or replacing damaged body panels and preparing surfaces for refinishing. Paint matching is one of the most visible measures of quality, and a skilled painter will blend the new finish into the adjacent panels so the repair is invisible.
Reassembly goes beyond bolting parts back on. Technicians must align panels to factory gaps, torque fasteners to specification, and ensure that seals and trim sit correctly. This stage determines whether your car looks and drives like it did before the accident, and it demands a high level of training and attention to detail.
Step 6: Diagnostic Scans, Calibration, and Post-Repair Validation
Modern vehicles are packed with electronics, and a collision can disrupt systems that show no visible damage. A proper repair includes a diagnostic scan to check for fault codes across the vehicle's computers, followed by calibration of any safety systems that were disturbed.
But the process doesn't end when the shop says it's done. The final step is your validation. You should not just take the keys and drive away; you should perform a few simple checks to confirm the repair was executed correctly.
What to Check Before You Drive Off
Here is a practical checklist you can use at the shop to verify the quality of the repair:
- Panel Gaps and Alignment: Walk around the car and look at the gaps between panels (e.g., hood to fender, trunk lid to taillight). They should be even and consistent. Run your finger along the edge of a repaired panel; it should feel smooth and flush with the adjacent panel, not raised or sunken. A gap that is wider on one side than the other is a sign of poor alignment.
- Paint Texture and Color: Look at the repaired area in direct sunlight and at an angle. The color should match the surrounding panels perfectly. Check for a rough, 'orange peel' texture, which indicates a poor paint application. Also, look for overspray on trim, weather stripping, or glass, a sign of sloppy masking.
- Hardware and Fasteners: Open the hood and trunk. Look for new, shiny bolts or clips in the repaired area. They should be seated properly and not stripped. If you see plastic push-pins that are loose or missing, that is a red flag.
- Interior Functionality: Test every electronic feature that was near the repair area, power windows, mirrors, seat adjustments, and the infotainment screen. A collision can disrupt wiring harnesses, and a loose connection might not trigger a fault code immediately.
- The Test Drive: Take the car on a road that allows you to reach highway speeds. Listen for wind noise around the repaired doors or windows, which can indicate a poor seal. Pay attention to the steering wheel, it should be perfectly straight when driving straight. If it is off-center, the alignment was not set correctly.
Ask for the Scan Report
Do not just take the shop's word that the diagnostic scan was clean. Ask for a printed or digital copy of the pre- and post-repair scan report. This document shows the fault codes that were present before the repair and confirms that none remain after.
The Calibration Caveat
Be aware that not all scans are equal. A basic OBD-II scan only reads engine and emissions codes (the EPA). A proper post-repair scan is a manufacturer-level scan that checks all modules, including the airbag system, ABS, and advanced driver-assistance systems (ADAS). If your car has a forward-facing camera, and the windshield was replaced or the bumper was removed, the camera likely needs a dynamic calibration, which requires special equipment and a specific procedure. Ask the shop specifically if they performed a dynamic or static calibration on your ADAS sensors.
Questions to Ask Your Mechanic Before Repairs Begin
The best way to ensure a transparent car repair experience is to ask the right questions before you authorize any work. A reputable shop will welcome your inquiries and answer them directly without pressure.
- Will you provide a written estimate that itemizes parts and labor?
- Do you use OEM parts, aftermarket parts, or a mix, and how do you decide?
- What happens if you find hidden damage during disassembly?
- Will you run a diagnostic scan and calibrate safety systems after the repair?
- Can you walk me through the repair plan before you start any work?
A shop that hesitates on any of these answers is probably not the right choice for your vehicle. You deserve a partner who treats your car as if it were their own and who understands that clear communication is the foundation of auto repair estimate transparency.
Choosing a repair shop is about more than convenience; it is about trusting the people who work on your vehicle. The transparent car repair process explained here exists to protect you from surprises. At Q3 Car & Truck Repair, our commitment to honest communication and straightforward estimates means you always know what is happening with your vehicle and why. Request an appointment today and experience a repair process built on transparency and genuine care.
Frequently Asked Questions
What should be included in a transparent car repair estimate?
A transparent estimate lists every part and labor line item separately, includes the cost for OEM versus aftermarket parts, states the labor rate, and notes any diagnostic fees. It should also specify that a supplemental estimate may be needed if hidden damage is found during disassembly. Ask for the estimate in writing before authorizing any work. This is the core of auto repair estimate transparency and protects you from surprise charges.
How can I tell if an auto repair shop is being honest with me?
Honest shops explain the repair process step by step before starting. They show you the damaged parts, provide a written estimate, and ask for approval before performing additional work. They also explain the difference between necessary repairs and preventative maintenance for older cars. You should feel free to ask questions to your mechanic before repairs begin. A shop that welcomes your questions and provides clear answers is likely operating with transparency.
What is the difference between OEM and aftermarket parts?
OEM (Original Equipment Manufacturer) parts are made by the vehicle's original manufacturer and are designed to match exact specifications. Aftermarket parts are made by third-party companies and can vary in quality and fit. A transparent repair shop will clearly state which type of part is quoted and why. Your insurance policy may influence this choice, but you have the right to ask for OEM parts and understand the cost difference.
Why is a diagnostic scan necessary after collision repair?
Modern vehicles have sensitive safety systems, including airbags, cameras, and sensors. A collision can disrupt these systems even if they appear fine. A post-repair diagnostic scan checks for fault codes and ensures all systems are communicating correctly. This step often requires recalibration of cameras or sensors. Skipping this scan could leave safety systems compromised. A transparent shop includes this validation in its process to ensure your vehicle is safe to drive.